How to Build a Swarm Trap for Free Bees
Adam Koons
Affiliate Disclosure: Thank you supporting us by visiting our site and posts. This website contains affiliate links that are ads recommended to you, that we can earn a small payout on. We only use Amazon Associates and Google Adsense. By clicking on these ads we can earn a little extra money to fund future projects.
DIY Swarm Trap Plans and Build
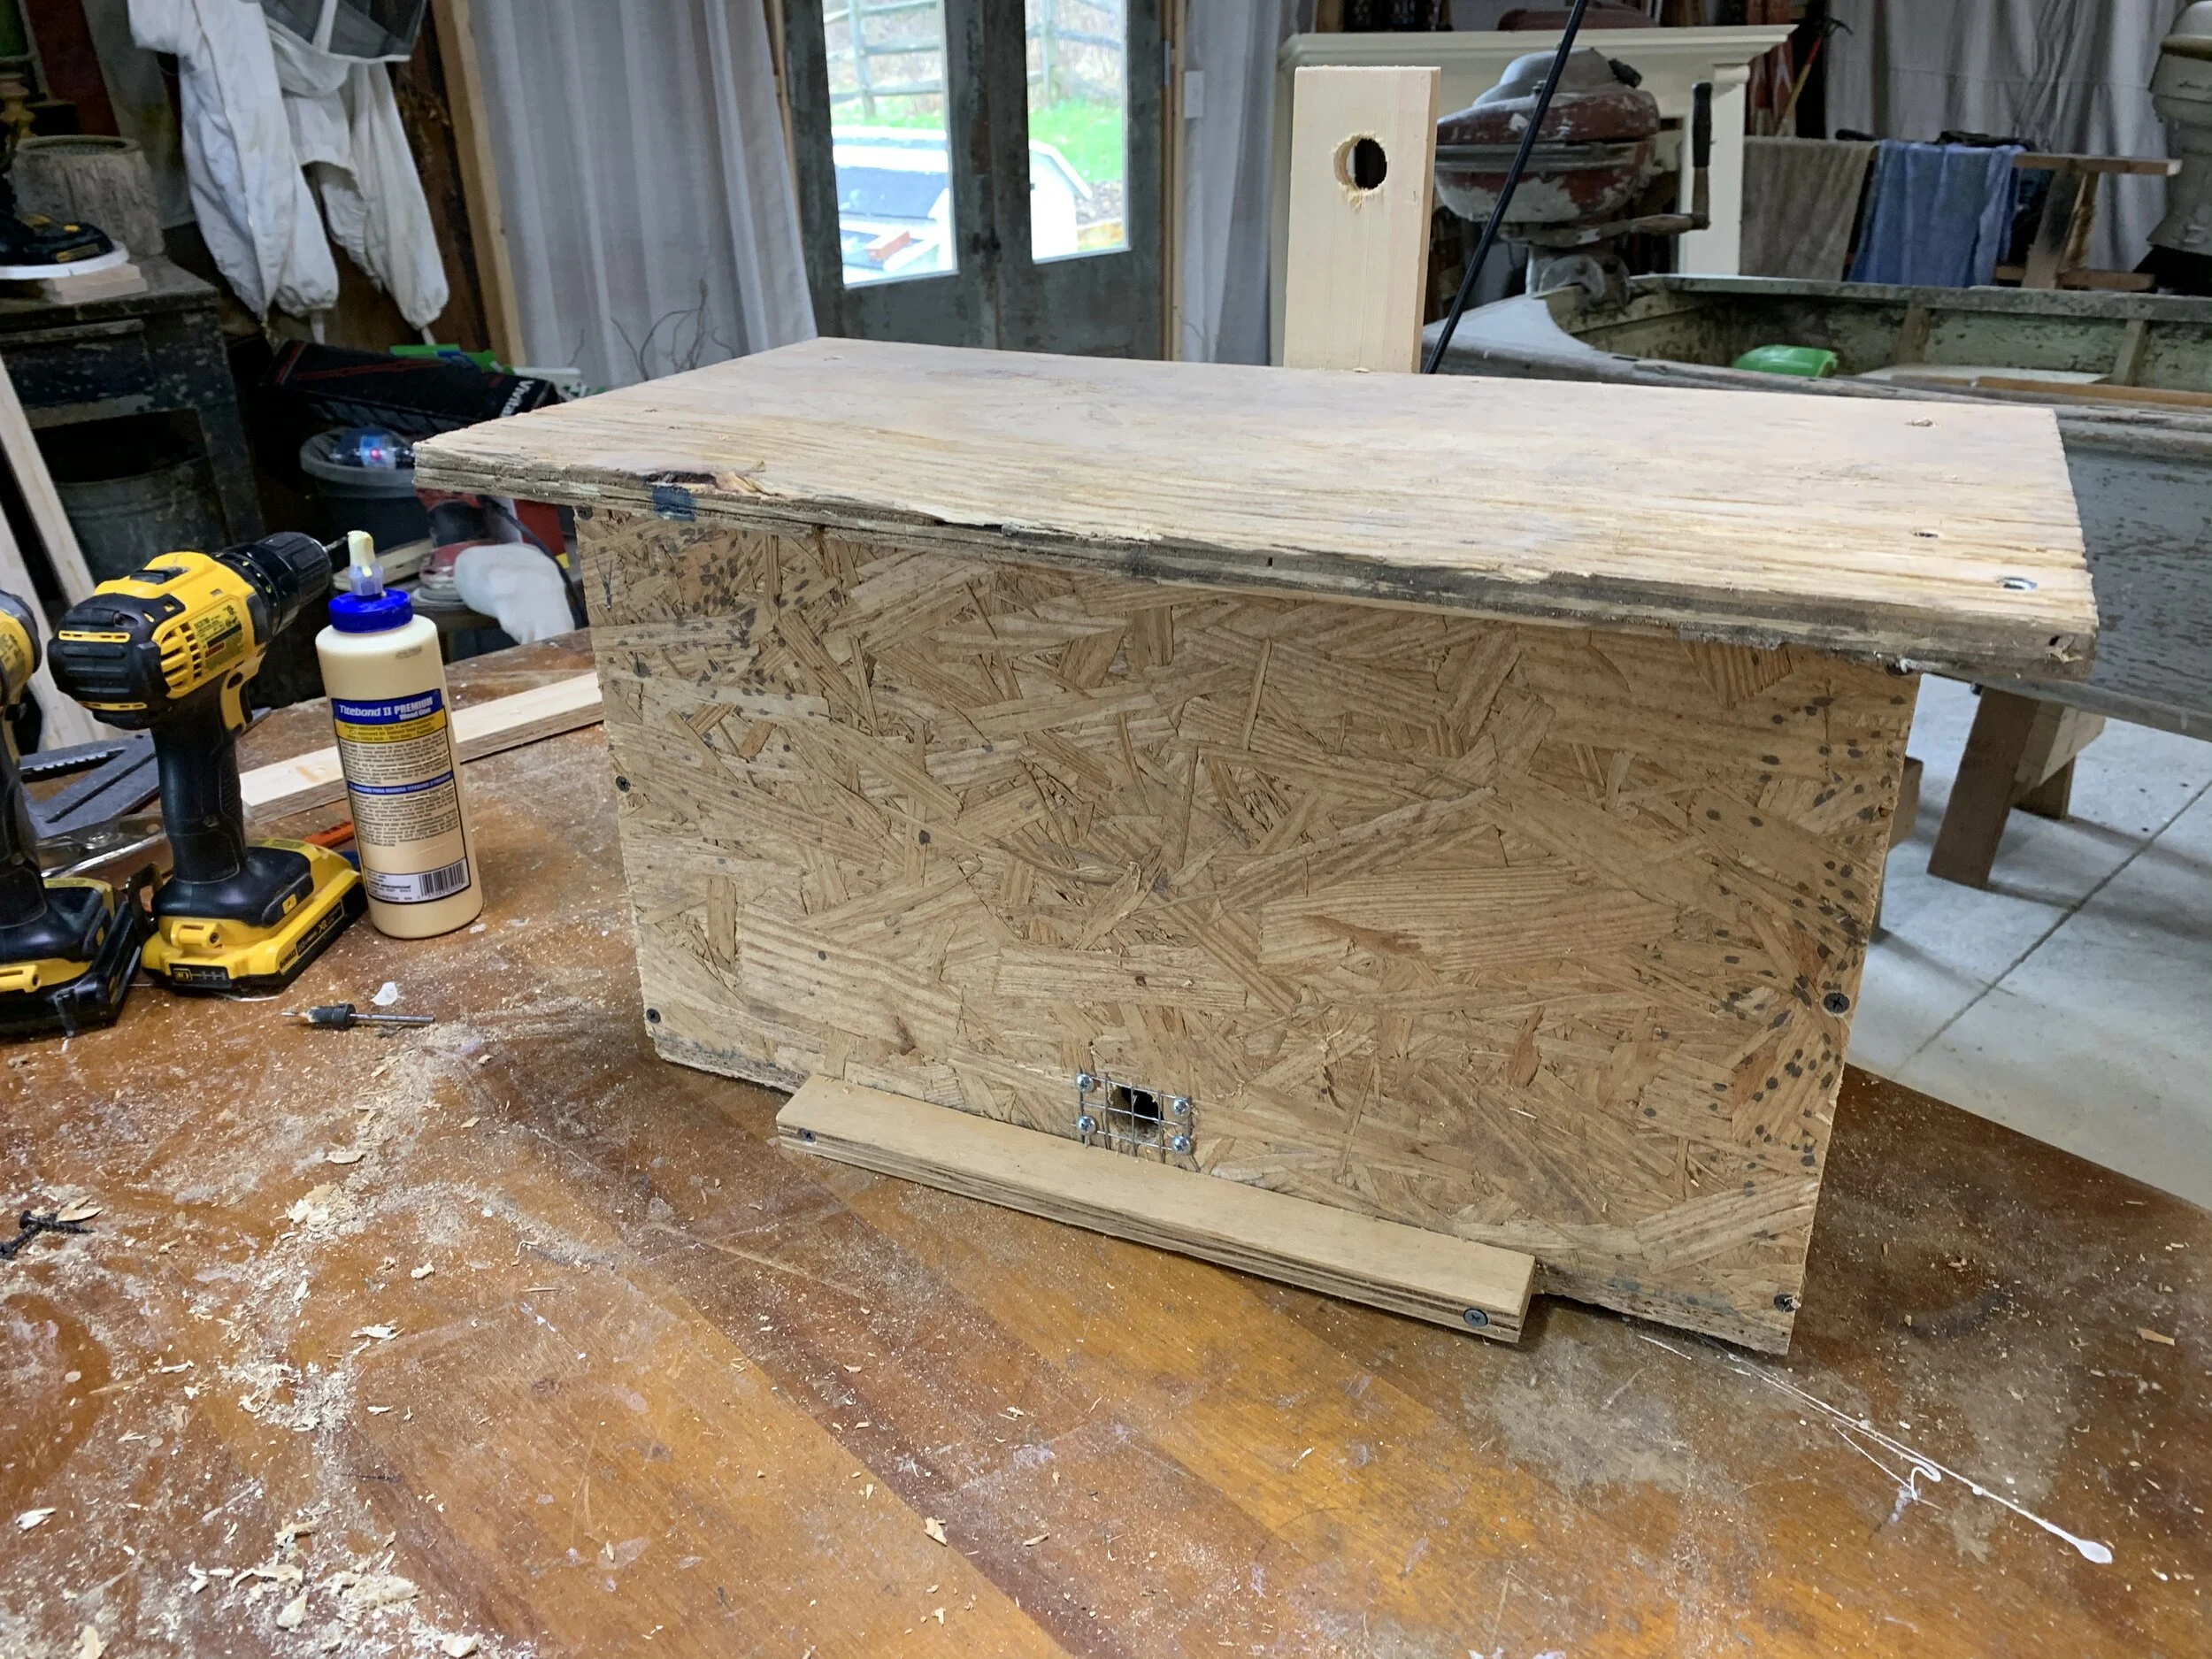
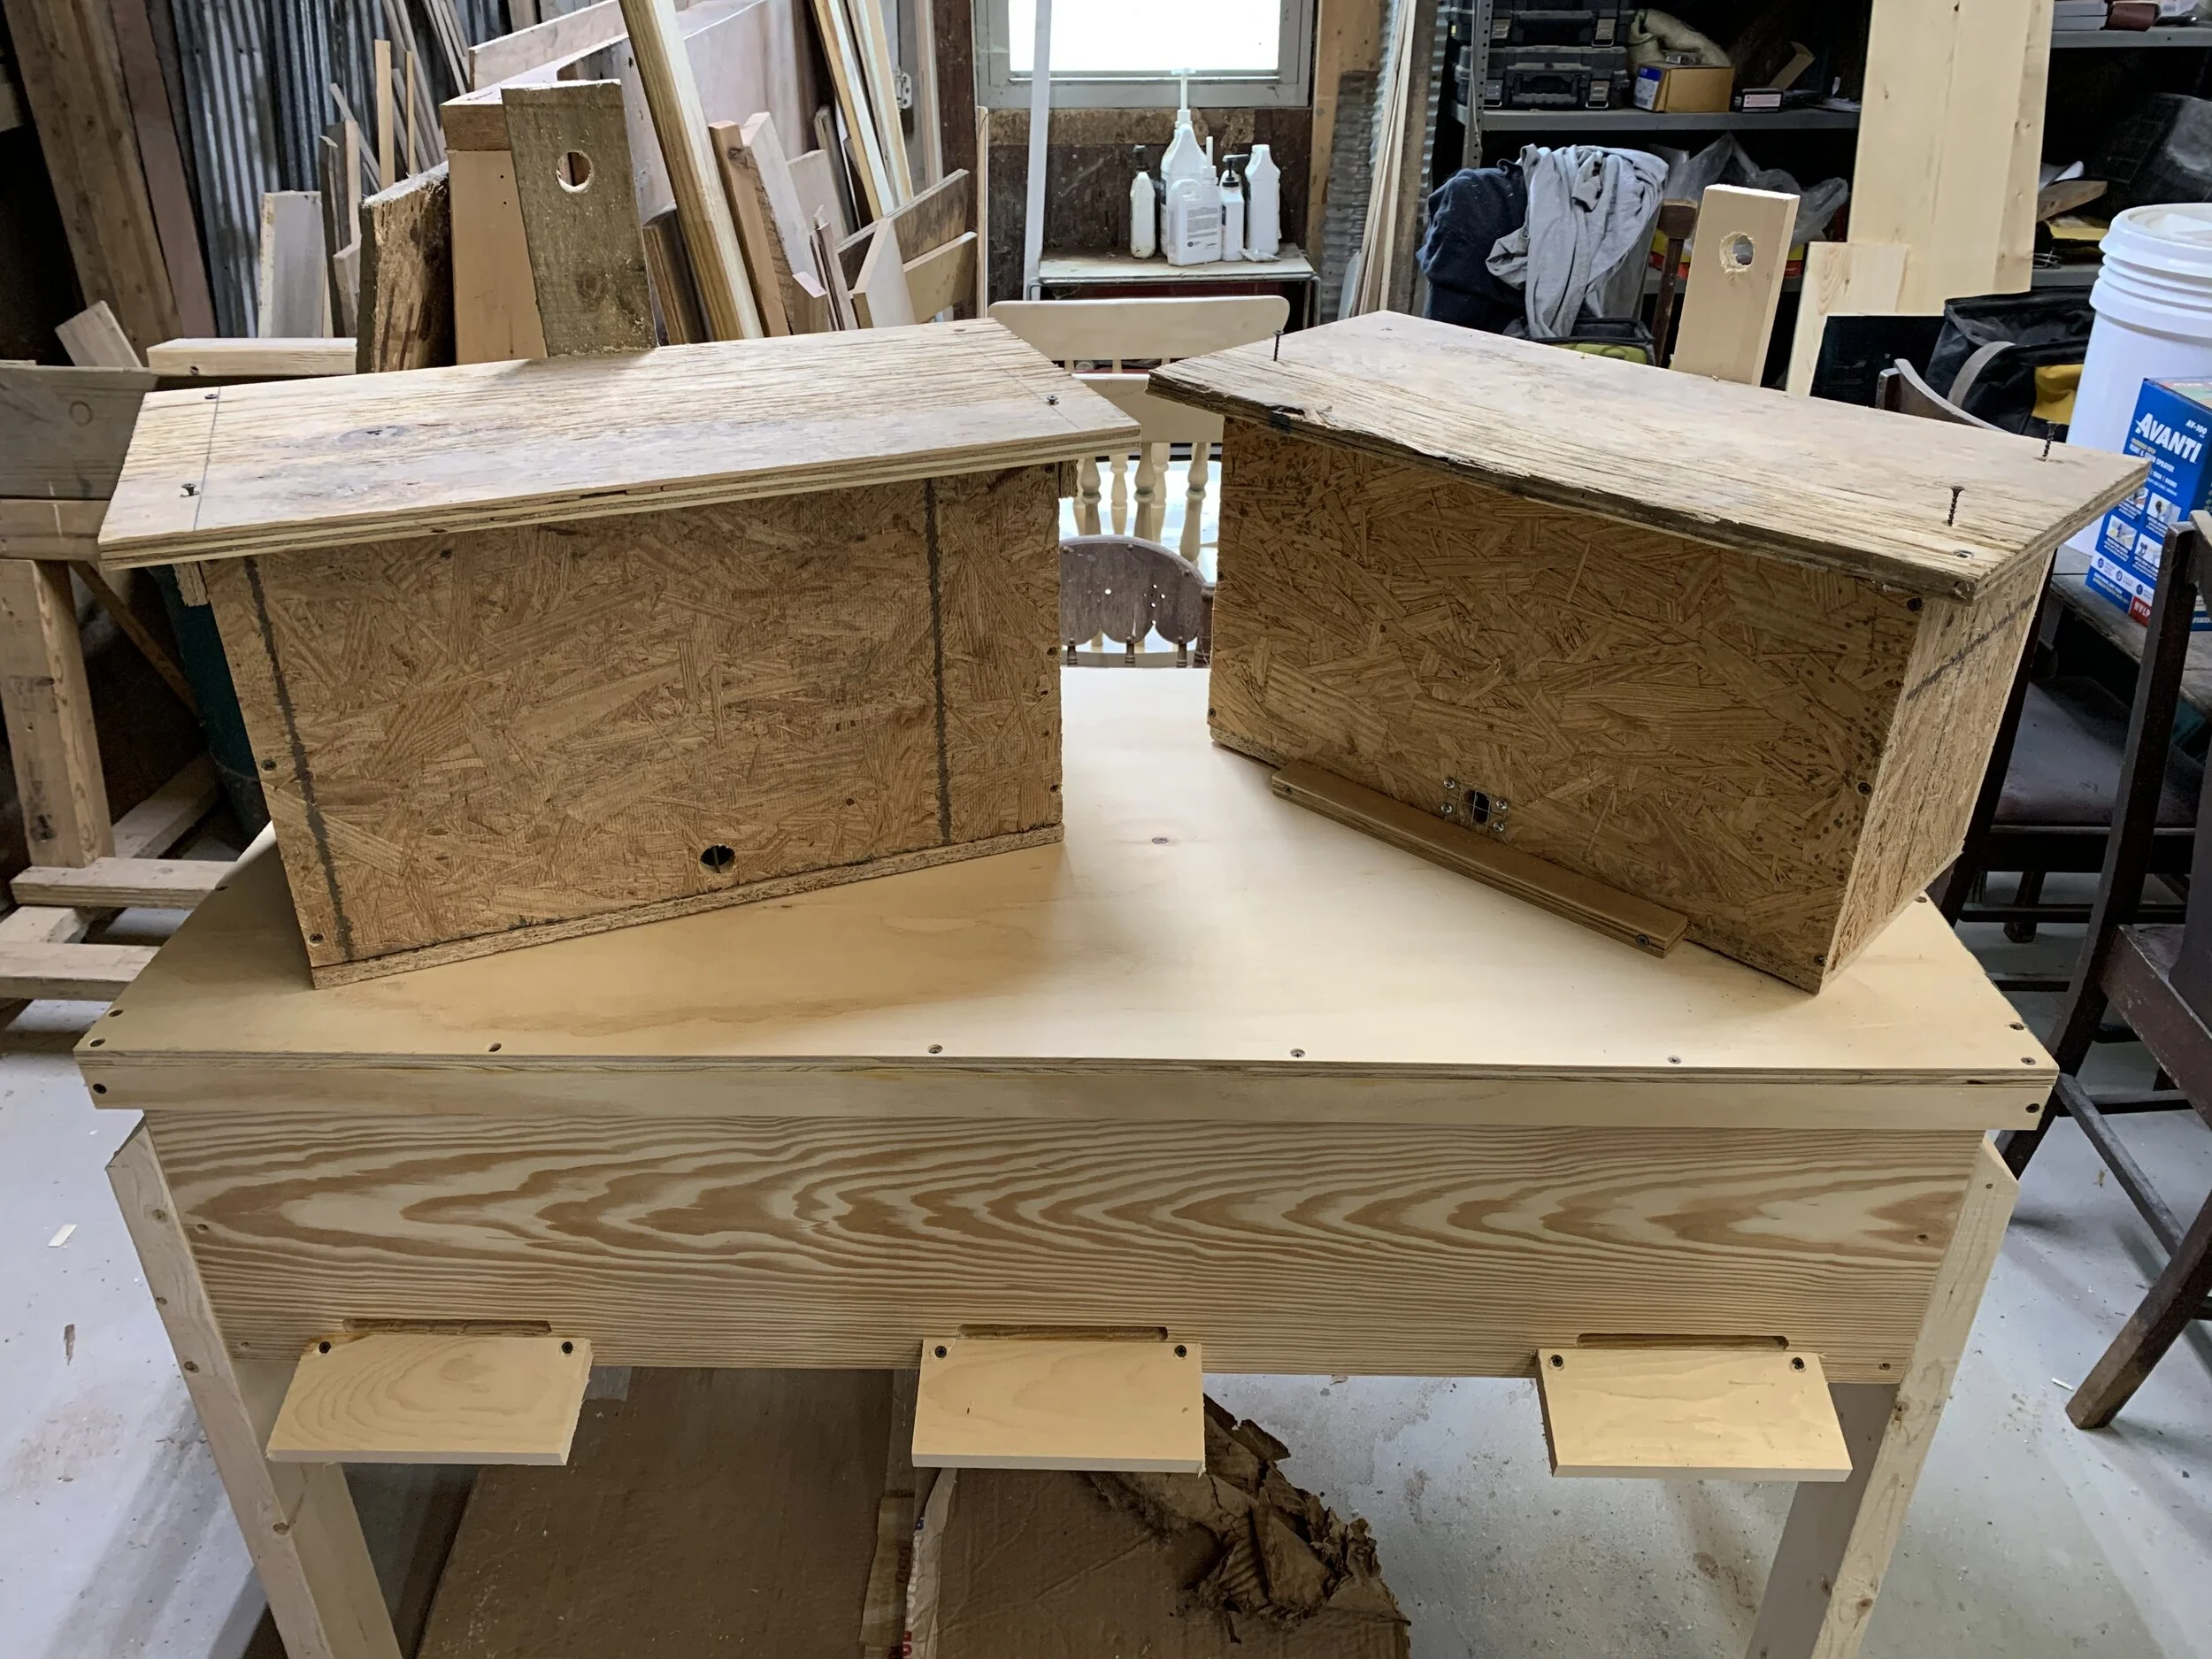
The idea of capturing free bees excites me. I have loads of scrap wood in the woodshop and always searching for scrap wood projects. While researching more beekeeping strategies, setting up swarm traps and collection bees seems to be a strategy for finding strong bees with a good chance of thriving in your local environment. So this is the guide to (hopefully) collecting free bees, using swarm traps (for Free) using scrap wood.
What is a Swarm Trap?
A swarm trap is basically an empty hive that is set to attract native or swarming bees. It is made from an enclosed box with frames that have older built out, dark wax. The goal is to make an attractive place for scout bees to convince their swarm to want to move into it. It needs to have sufficient space for the swarms, and is typically 4-5 frames wide and a little deeper than a deep frame. It can be baited with lemongrass essential oils or other bait smells. The internet provides plenty of opinions on baiting the hive, placement, and the best approach to capturing bees. We will let them debate it and stick to how we are building DIY swarm traps from our scrap wood.
Building Swarm Traps from Scrap Wood
Swarm traps can be made from a variety of materials. We used an odd shaped cutoff of sheeting, but plywood, or any lumber would work well - I have seen them made from old fencing, barn lumber, and standard one by stock.
For this guide, use 1/2 sheeting or plywood material.
Cut List for the Swarm Trap:
Sides - 2x at 21” Long by 11” or 12” wide.
Bottom - 1x at 21” Long by 10 wide”
Ends - 2x at “9 Wide by 11” or 12”
Frame Rests - 2x at 9” by 3/4, by 2-3”
Top - 1x at 24” 12”
Optional Hanger - Scrap 1x3 board with a 1” hole
Cutting The Lumber
I found that with a 48” wide piece of plywood, I could make two 11” rips on the table saw and get all the sides of the box, except the top. I could then Cut pieces to length on the miter saw, and then do other rips to make them the correct size before assembly.
Assembling the Swarm Trap
To assemble your swarm trap, I used wood glue and 1 1/4” drwall screws that I had avaialbe in the shop. These are coarse and have great grip - but be sure to predrill your screw holes first to avoid splitting the wood.
Step 1: Attach the frame rests about 1” from the top of the End Boards.
Step 2: Attach the Ends to the Sides by putting glue and 3x screws into each joint.
Step 3: Attache the Bottom to the box using glue and screws. The bottom fits on the end of all the other pieces and not “inside” the box.
Step 4: Drill a 1” hole into a side, centered on the box, and about 1” up from the bottom.
Step 5: Attach the Top to the box using 4 SCREWS. This will need to be removable to remove the bees when you catch a swarm.
Step 6: If you plan to hang the box with a board, attach the hanger board with 6 screws - 4 through the back and 2 from inside. If you don’t want to use the hanger board, some people hang their swarm trap in the tree with straps.
Step 7: Add an entrance protection to keep birds out. Options would bee to drive a long nail through the center of the hole or use 1/2” hardware cloth to protect the hole.
Finally - paint and finish to your desire.


