How to Build A Beehive - Part 2: Building Beehive Boxes - Deeps and Mediums
Adam Koons
Affiliate Disclosure: Thank you supporting us by visiting our site and posts. This website contains affiliate links that are ads recommended to you, that we can earn a small payout on. We only use Amazon Associates and Google Adsense. By clicking on these ads, making a purchase, or taking other action, we can earn a little extra money to fund future projects.
This article is part of a 5 part series on building beehives. I have decided to build 8 frame hives in my workshop with common woodworking tools. I am building my hives myself to save money over buying, and to challenge myself on a fulfilling project. This is not a step by step guide for a novice woodworker, but a snapshot into my experience on how I built my own hives to use.
Watch us Build a Beehive
How to build hive bodies
I have always admired the joinery of beehives. A simple box joint has a nice look to it, and reminds me of dovetail joints on antique furniture. My projects haven’t required special joinery, and I always assumed that joints would require extra attention to detail and be difficult to produce. However, I soon learned that a dado stack and a box joint jig, makes quick work of tight fitting box joints.
How To Build Deep Brood Boxes and Medium Honey Supers
I purchased 1x12x8’ pine boards from Menards for my brood boxes. I used 1x8x8’ for my medium honey supers. Of the big box stores in my area, Menards is the best for sourcing lumber, and they seem to carry the largest selection to choose from.
I am making my hive to be 20” x 14” and I am making 2 complete hives.
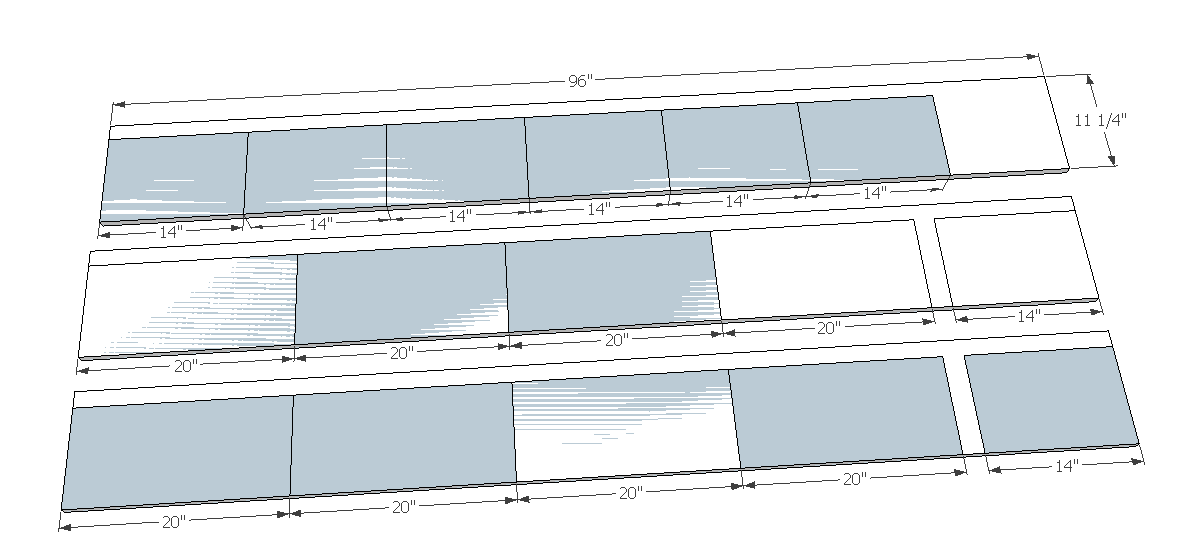
Based on the following layout, three 8’ boards will be enough lumber for 4 total hive boxes. This layout shows the deeps.
Tip: I cut the boards to length using my miter saw. I measured the lengths first to try and avoid knots where possible.
Brood Box and Honey Super boards cut to length.
Once I had all the lengths cut, I set the fence on my table saw to 9 5/8” and ripped the deeps. To Rip the width of the medium supers, I set my fence to 6 5/8”. I was then selective on what side to rip, and tried to cut off knots and imperfections. However, save all the scraps because they can be used on other pieces and parts of the hive.
Ripping the boards to width and removing knots and other imperfections.
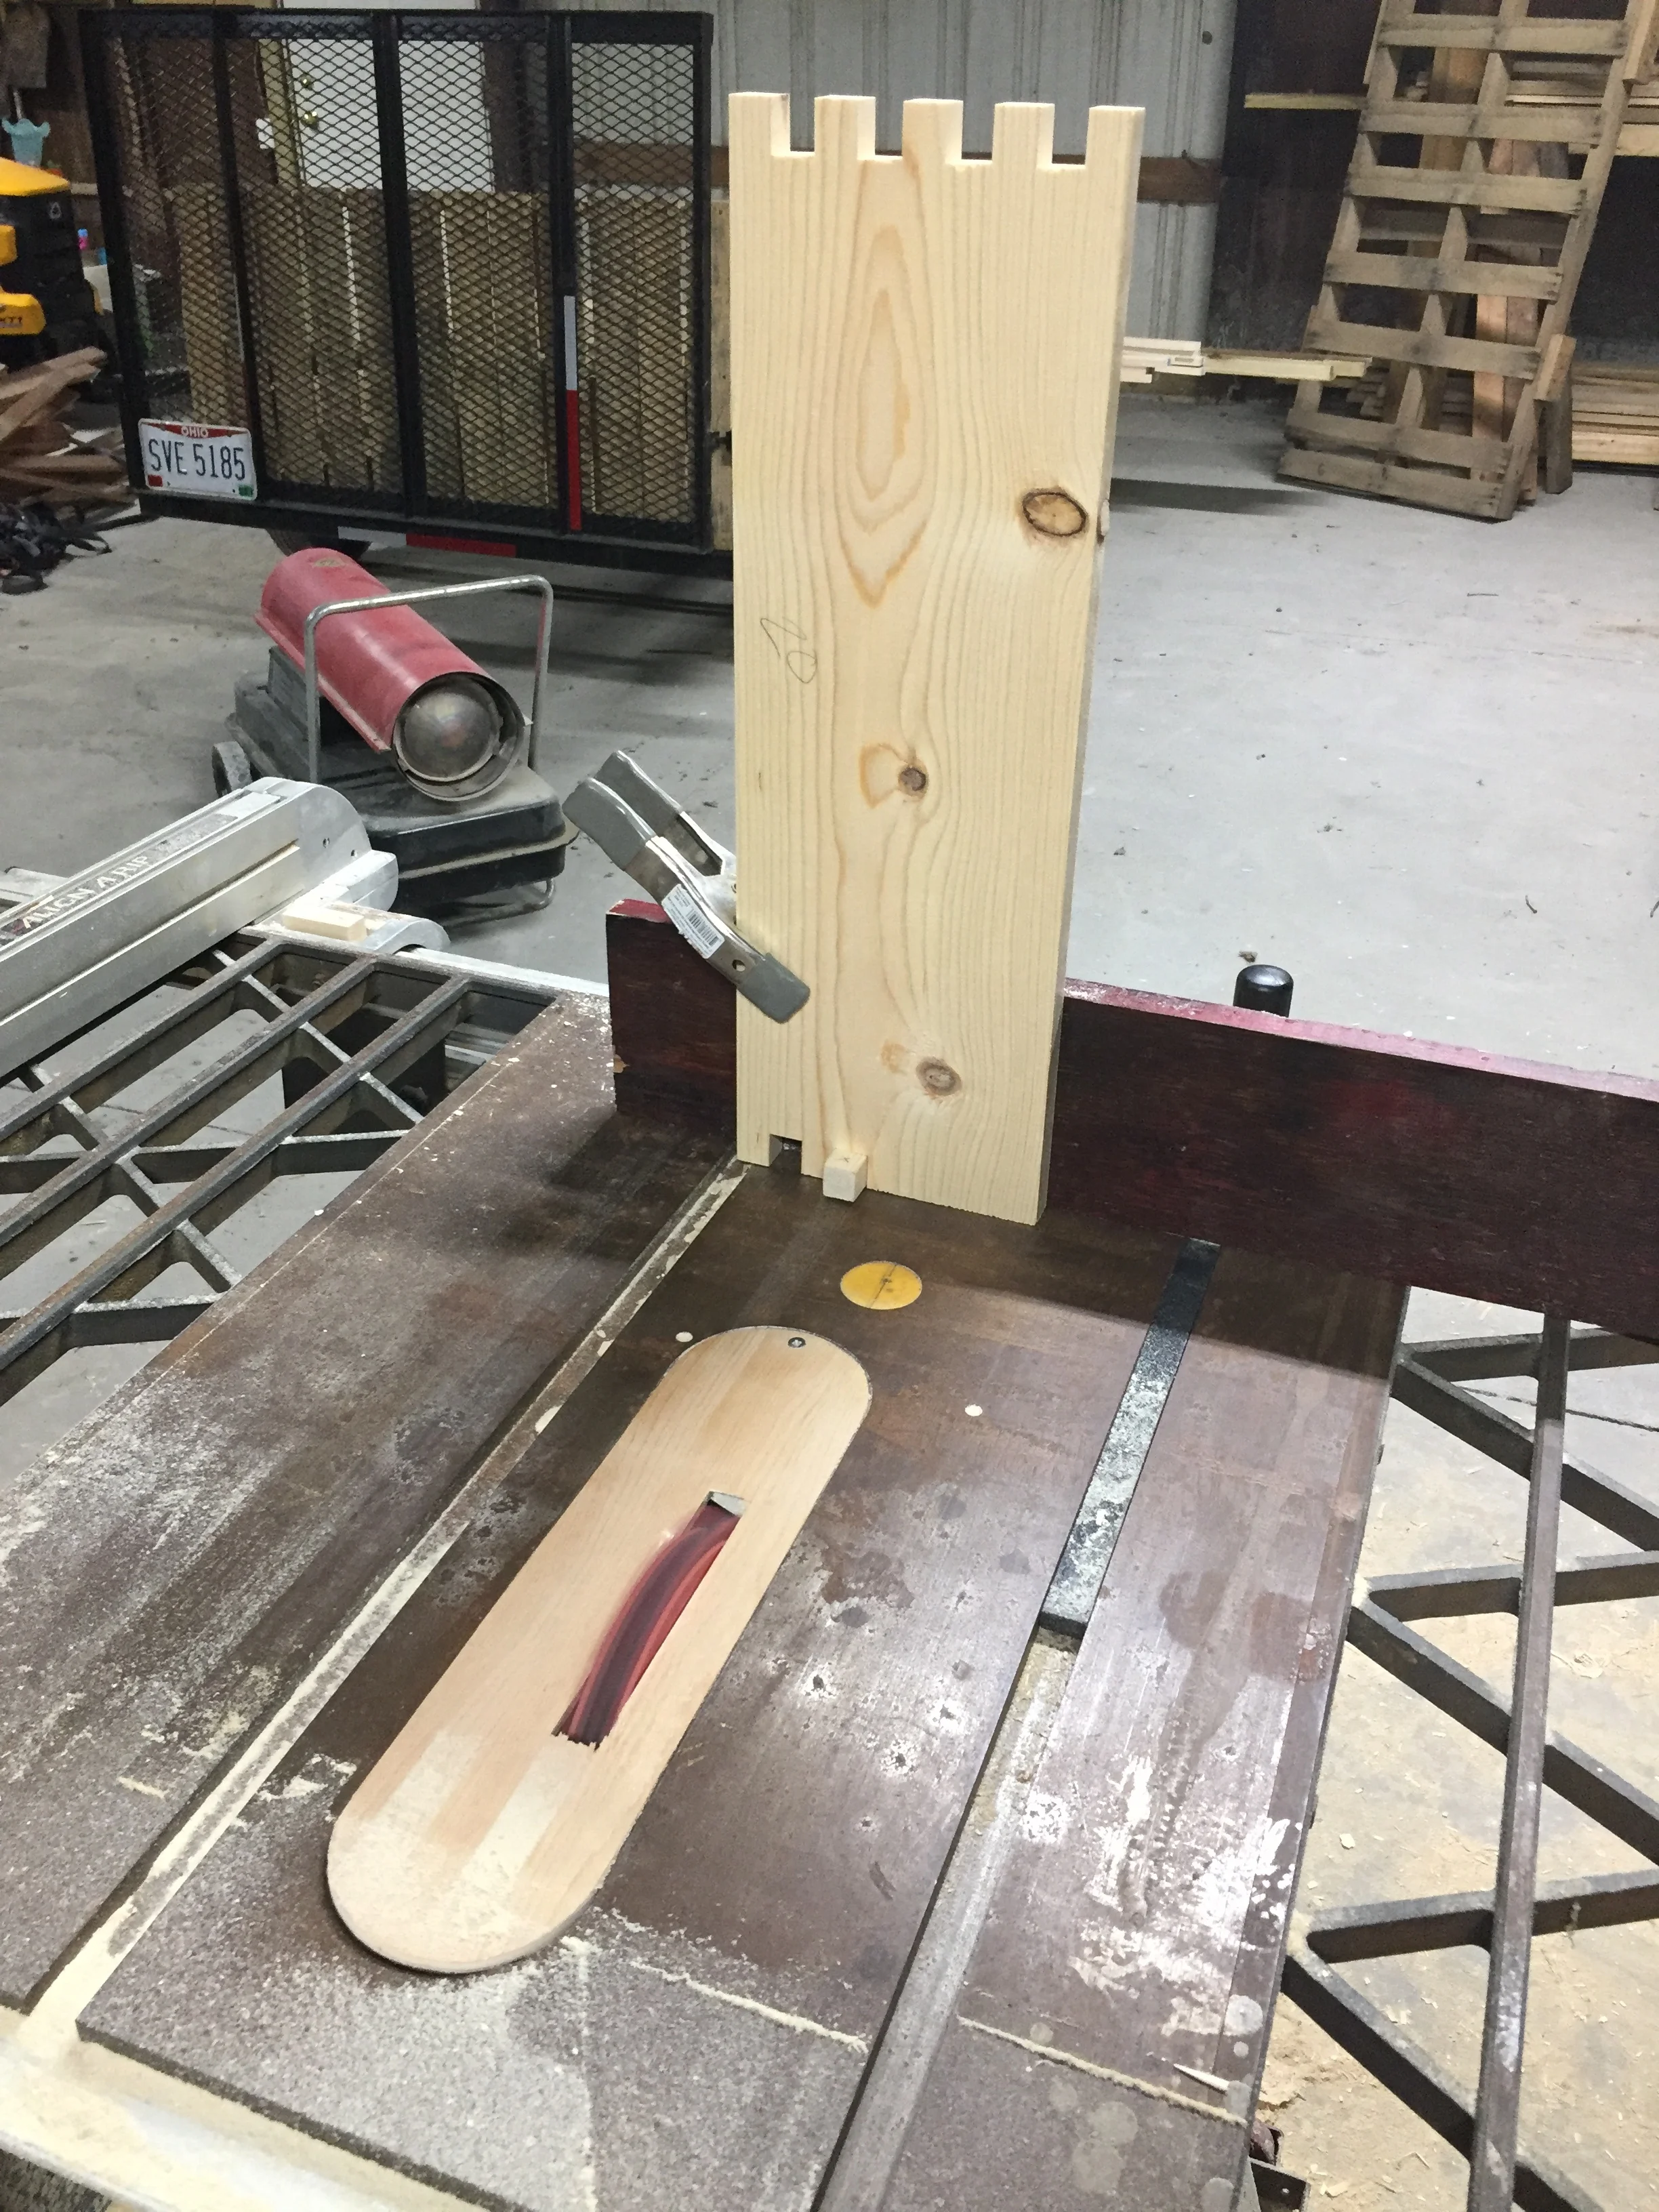
Next the boards were ready to have the box joints cut. I used my dado blade stack, set up for a 3/4” cut. I made a simple box joint jig using scrap wood and a 3/4” x 3/4” block for the spacers. YouTube is filled with video tutorials on how to make a box joint jig for table saws.
3/4” dado blade and box jig on my Craftsmen table saw.
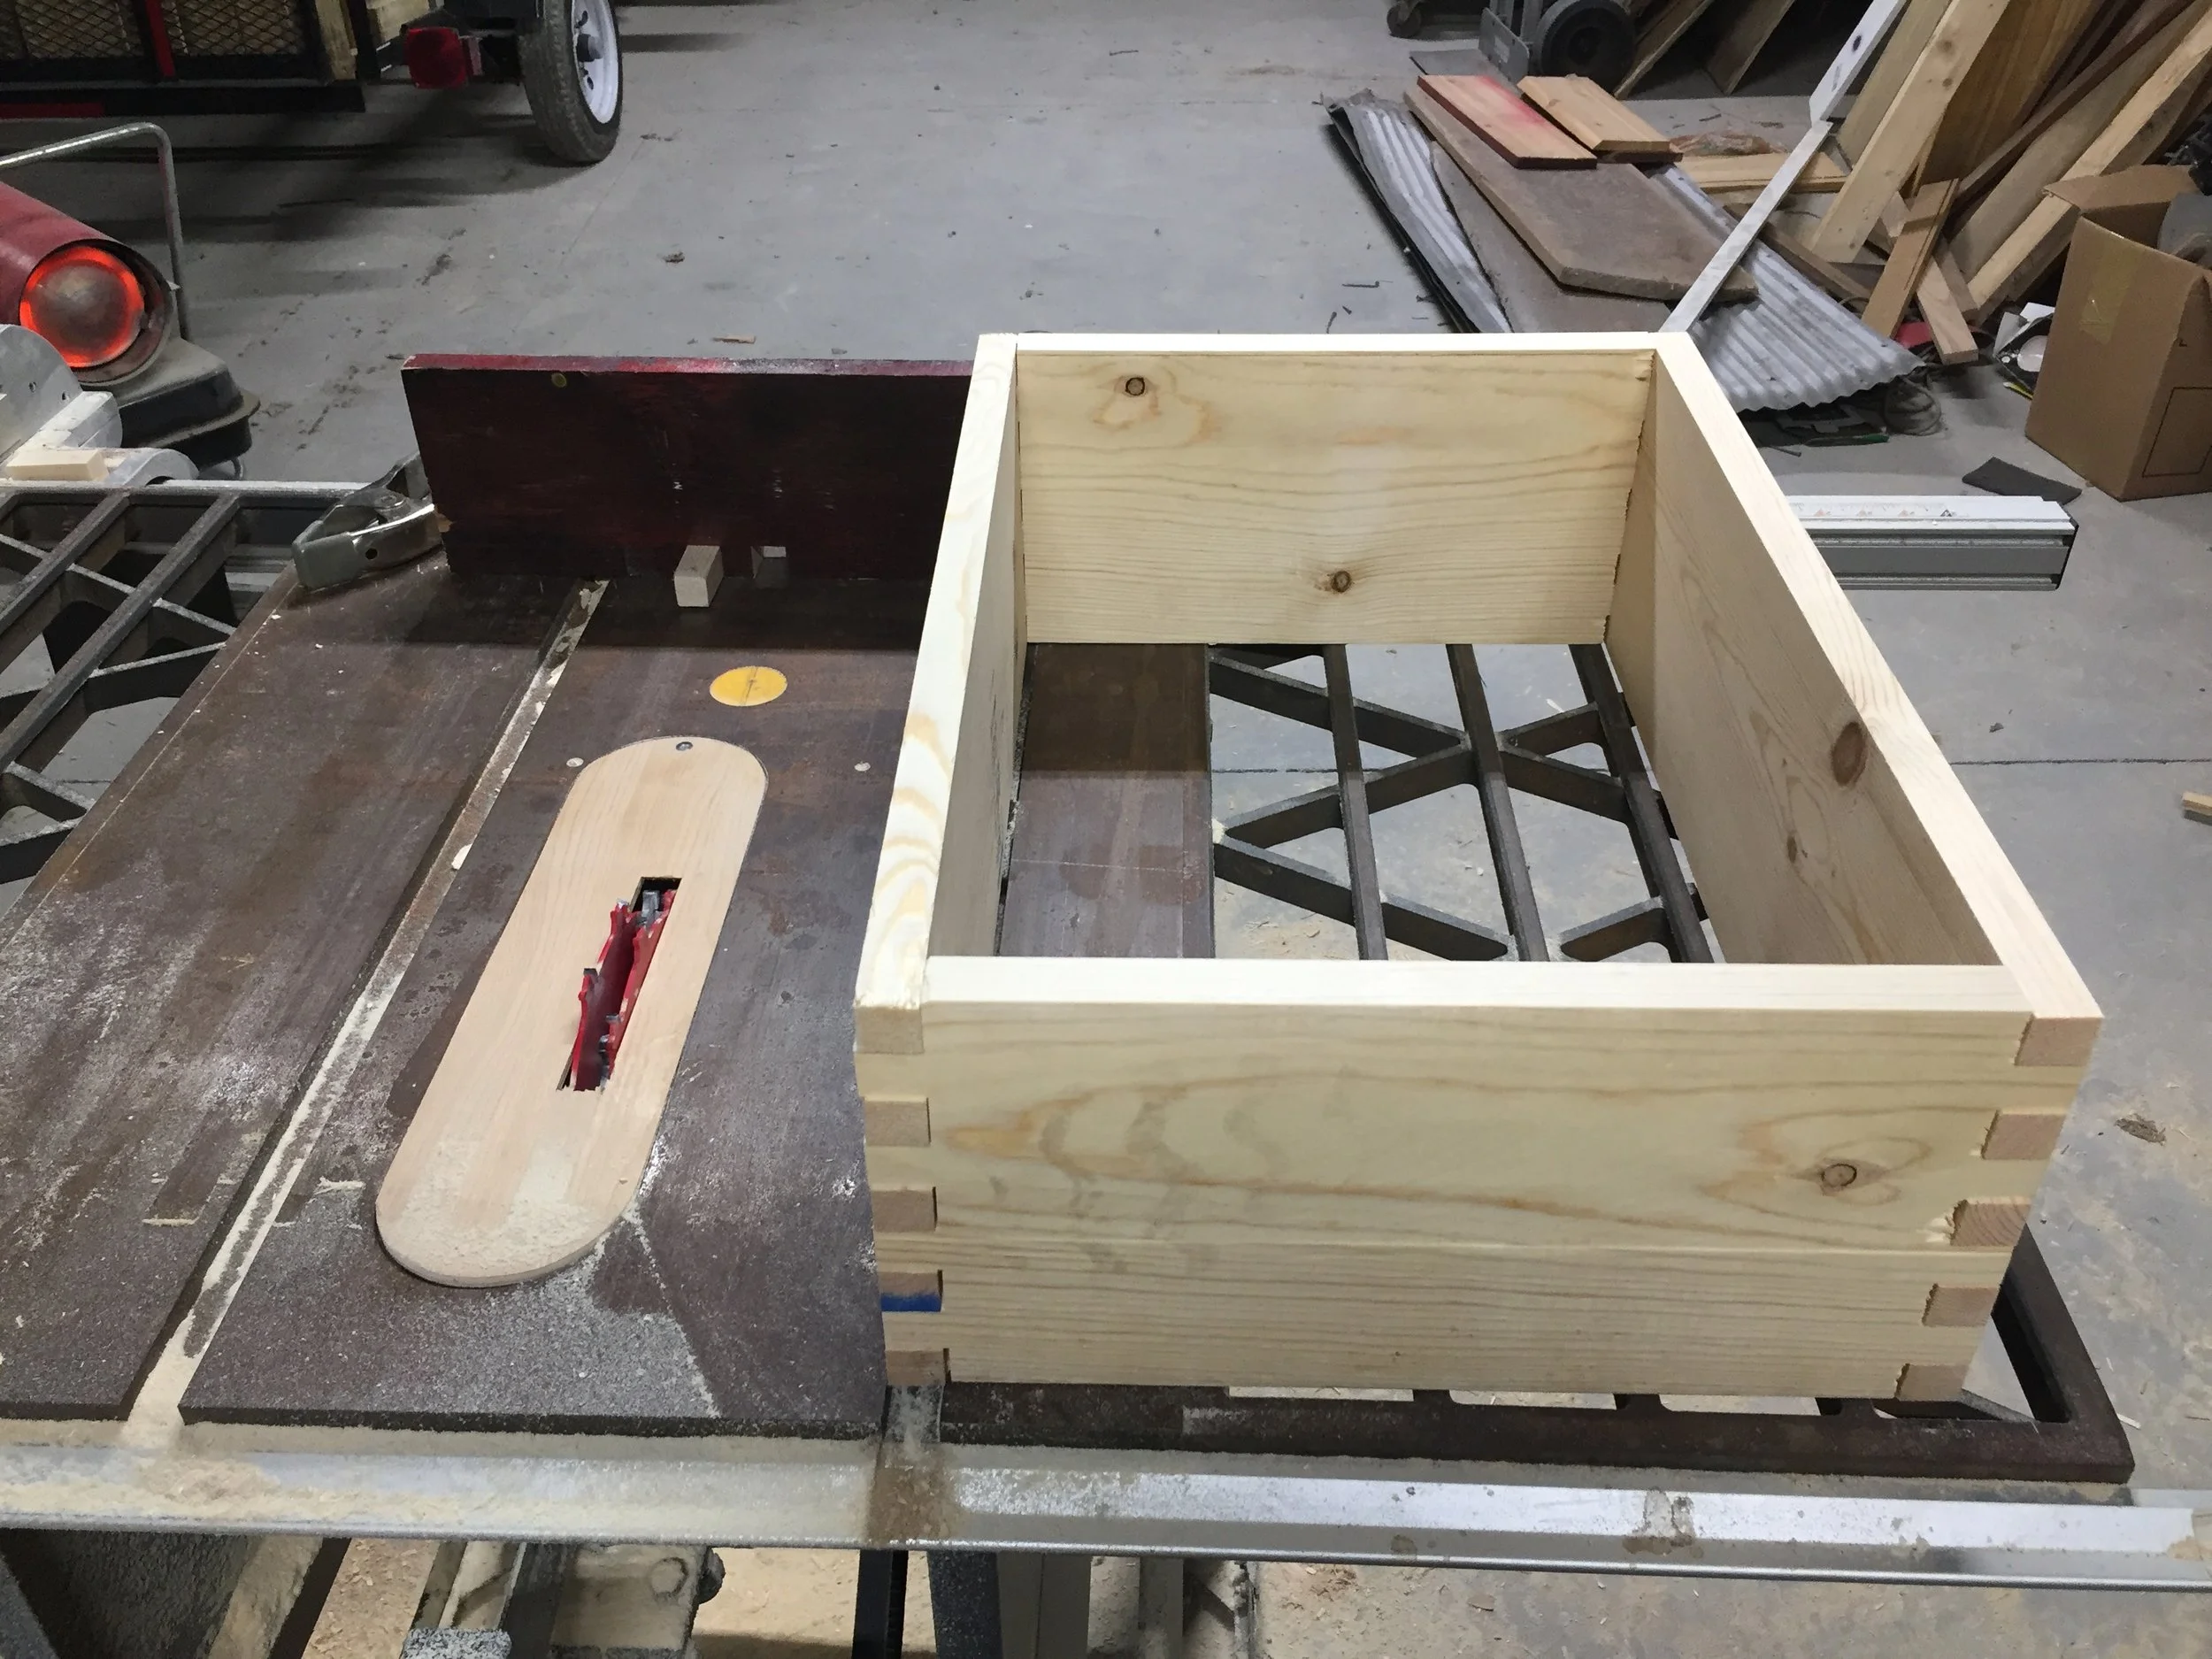
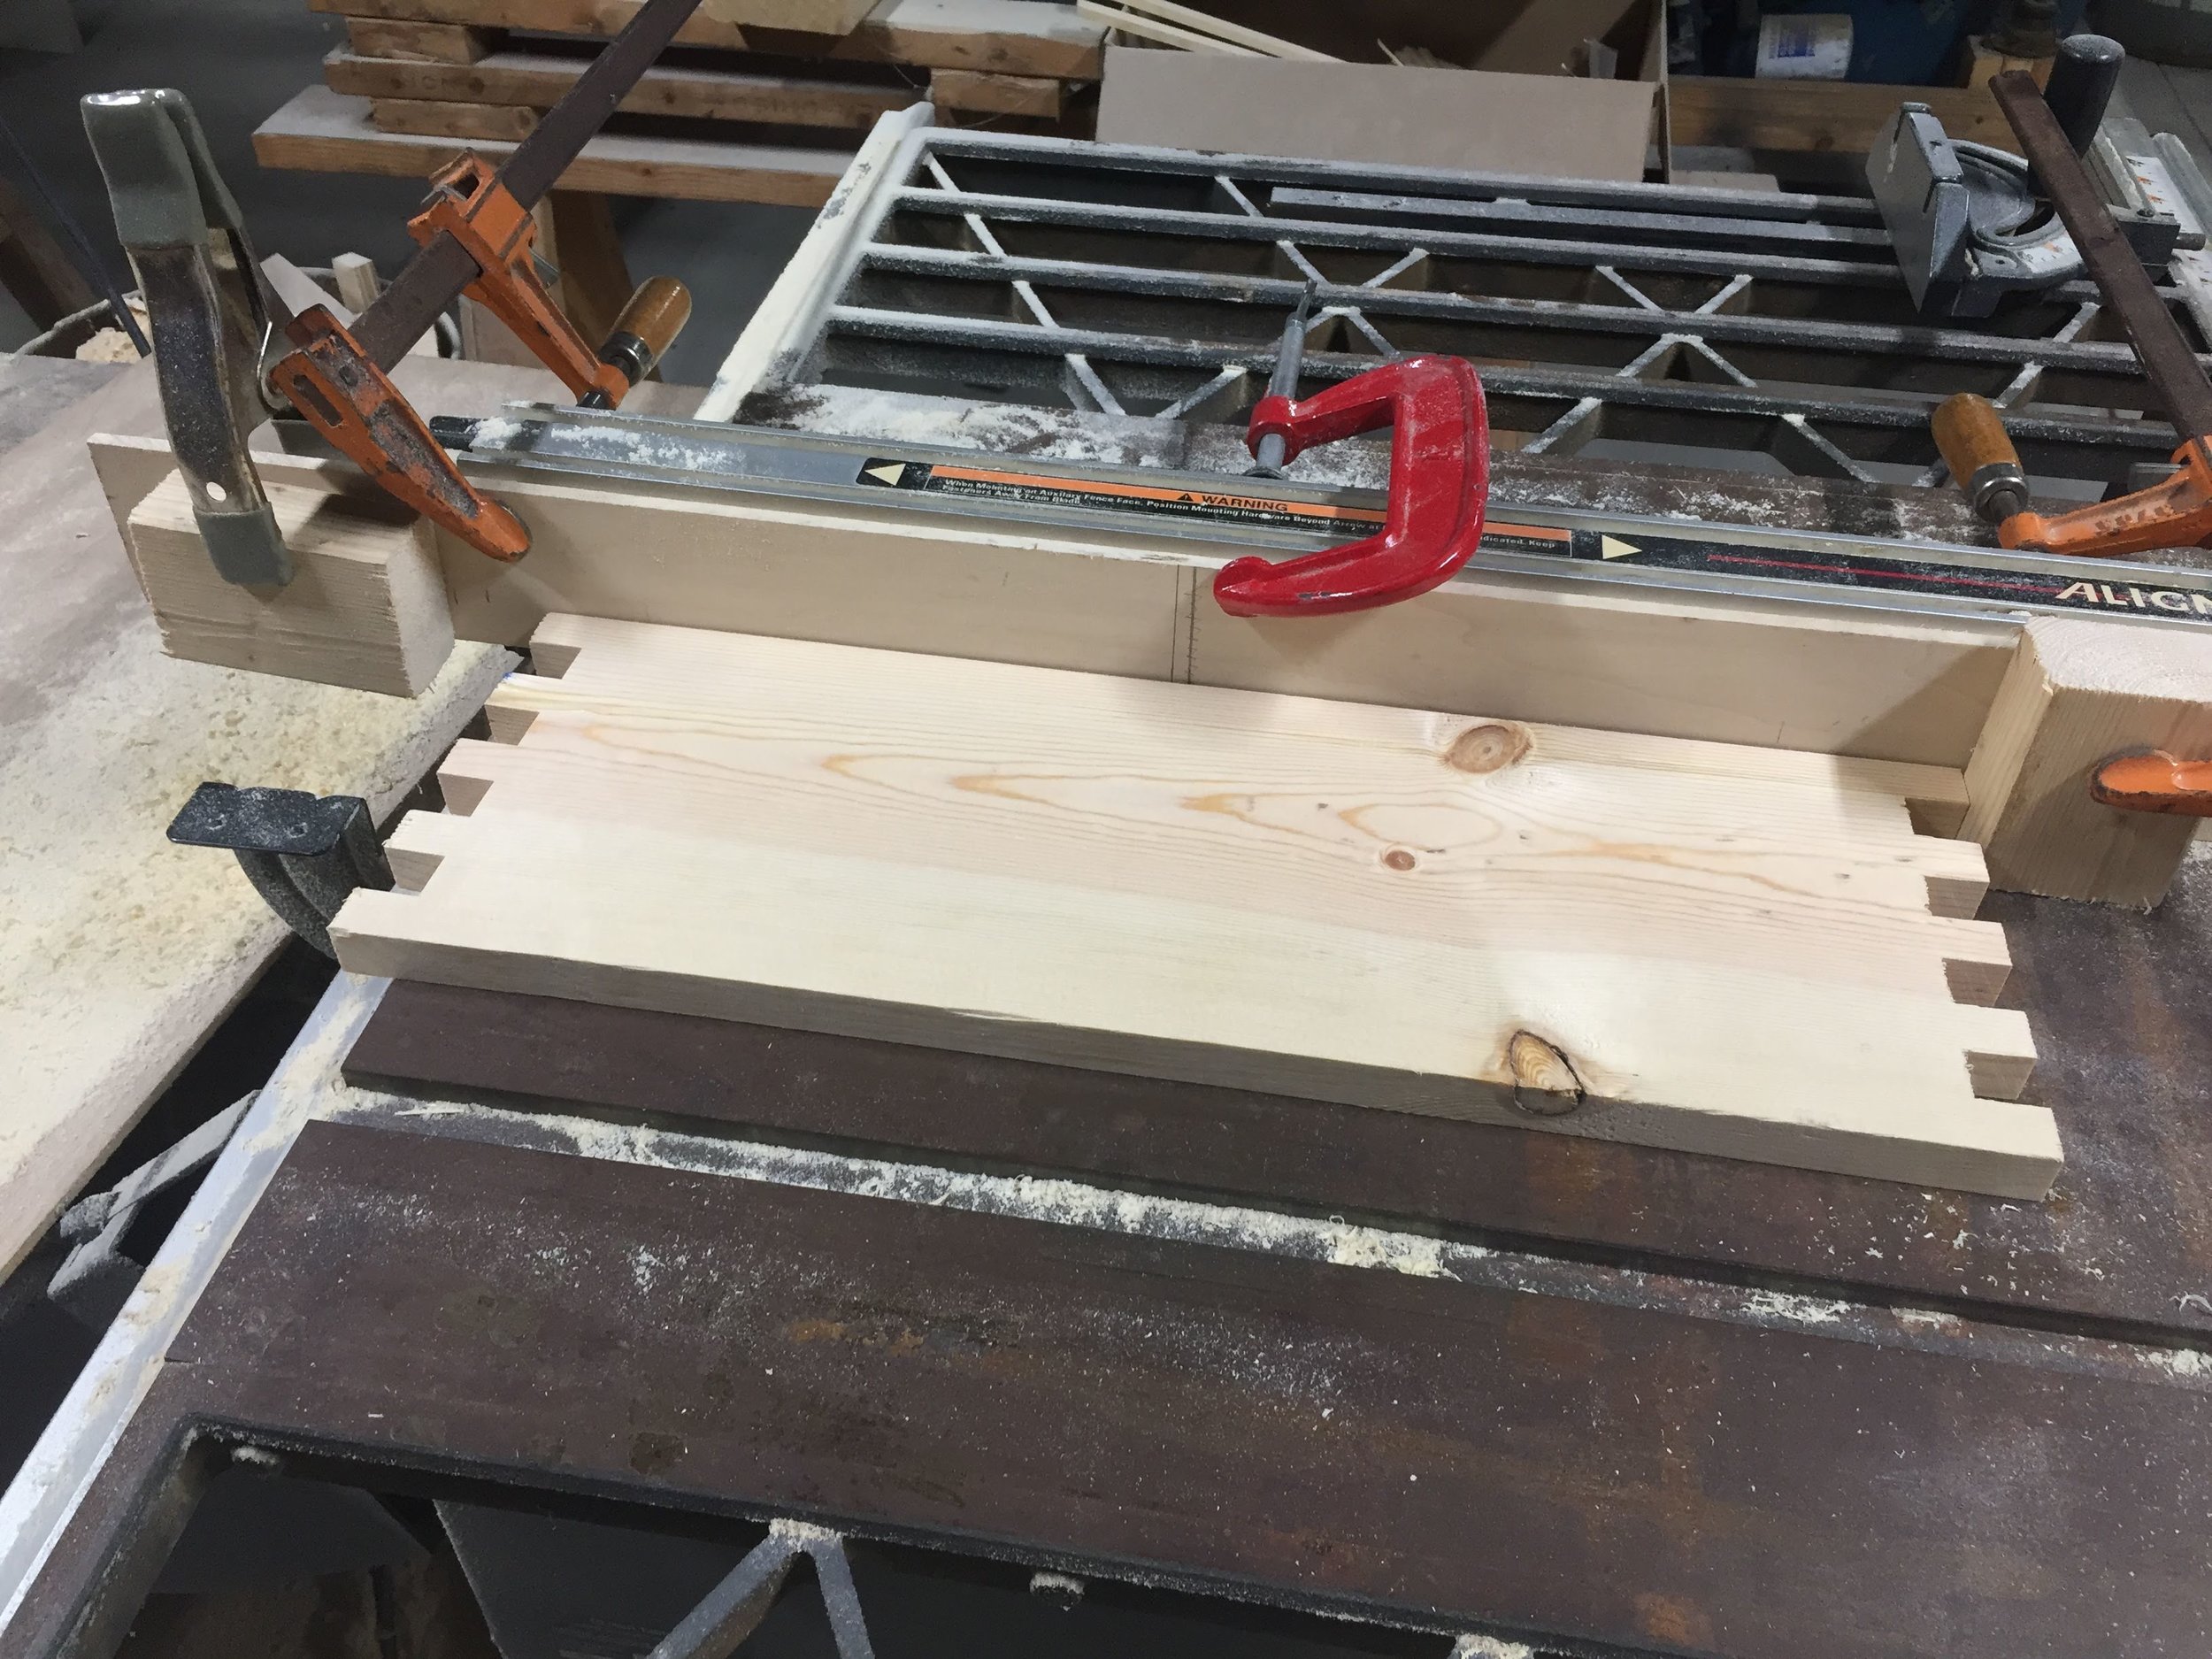
Dry fit of the box joints. They were left long to be sanded flush after gluing.
To make the box joints:
Start with the longer boards. The first batch will start right up against the spacer block on the jig, which is spaced 3/4” away from the jig.
After each cut, place the cut out section on the spacer to make the next cut.
Repeat until the board has all the correctly spaced cuts.
To cut the other side of the board, rotate end for end. Make sure that the edge that had the first cut, is the same edge with the first cut on the other end.
For the second (shorter) boards:
Place a 3/4” spacer between the block and but the board against it. We are spacing the board to “notch” the first cut, removing the corner.
Then repeat the same as before, moving the cut space onto the spacer.
This YouTube video dose a good job demonstrating.
The next step is to add the dado along the top side of the short ends. This is easily done with the dado blade and a sacrifice board. I used the same 3/4” dado set up and then adjusted the fence with a sacrifice board to get the correct spacing of 5/8”.
How to Make Beehive Handles or Handholds
There are a lot of methods for making the handholds on the hive bodies, but I went with what seems the most simple and safest to me. Sticking with the 3/4” dado stack, set at 3/8” deep, I found the center of the blade and marked it on the fence. Next I set blocks 2” wider than the board I was cutting the handle in (1” on each end). Then I simply laid the board down on the saw blade, slid it over 2 inches and lifted it straight off. The result was a straight, but narrow handle in the center of each side.
Cutting the hand holds with a table saw and dado stack
How to Assemble and Finish a Beehive Box
Finally, I glued the 4 pieces together using Titebond 3 wood glue and 1.25” finish nails. I used nails because I planned to varnish the boxes and didn’t want screw heads to show. The best tip is to have a square handy and several clamps to ensure things are square and tight when assembling.
After the glue dried, I used a belt sander and random orbital sander to clean up the joints and remove the glue. The belt sander made quick work of the extra length on the box joints, and sanded down to perfectly flush.
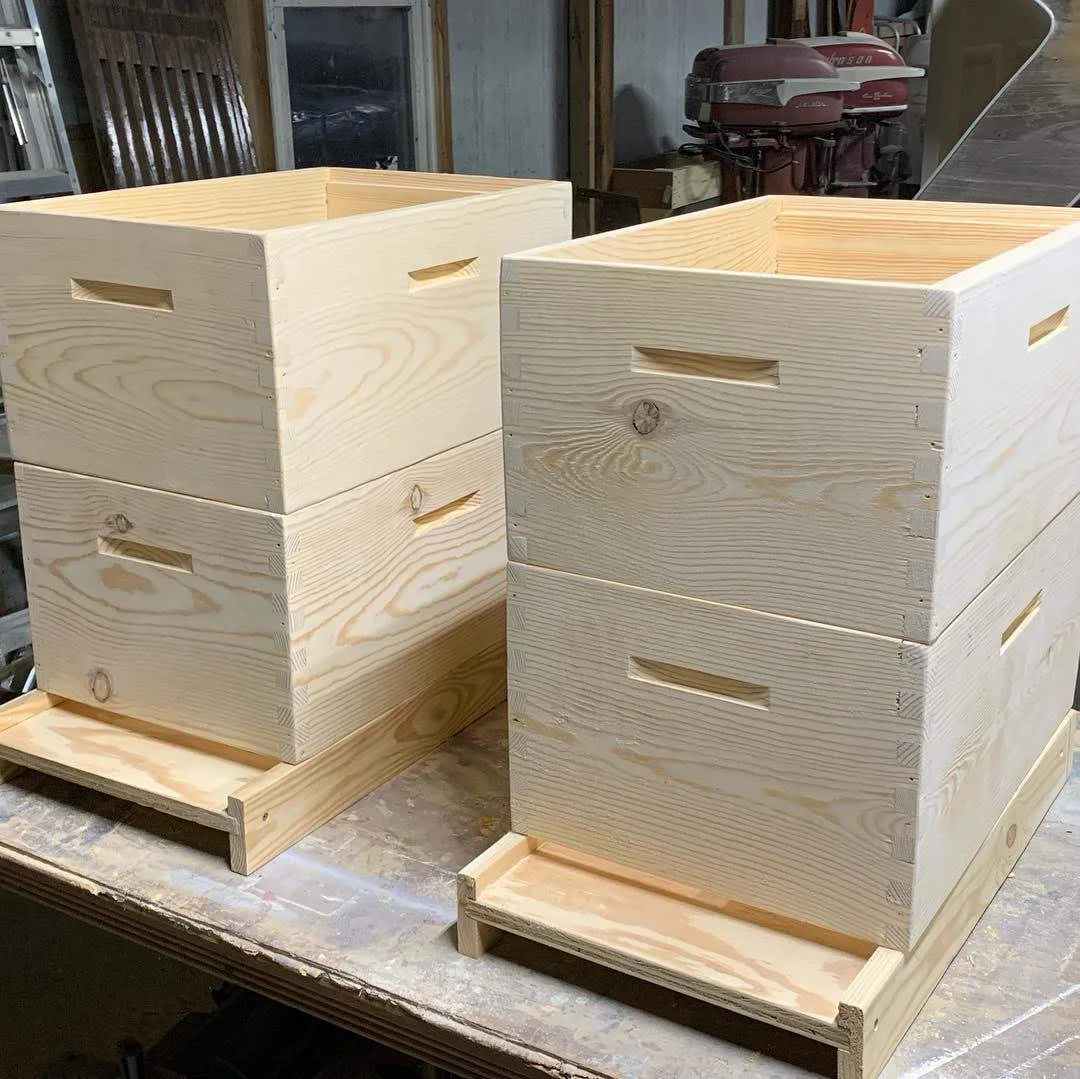
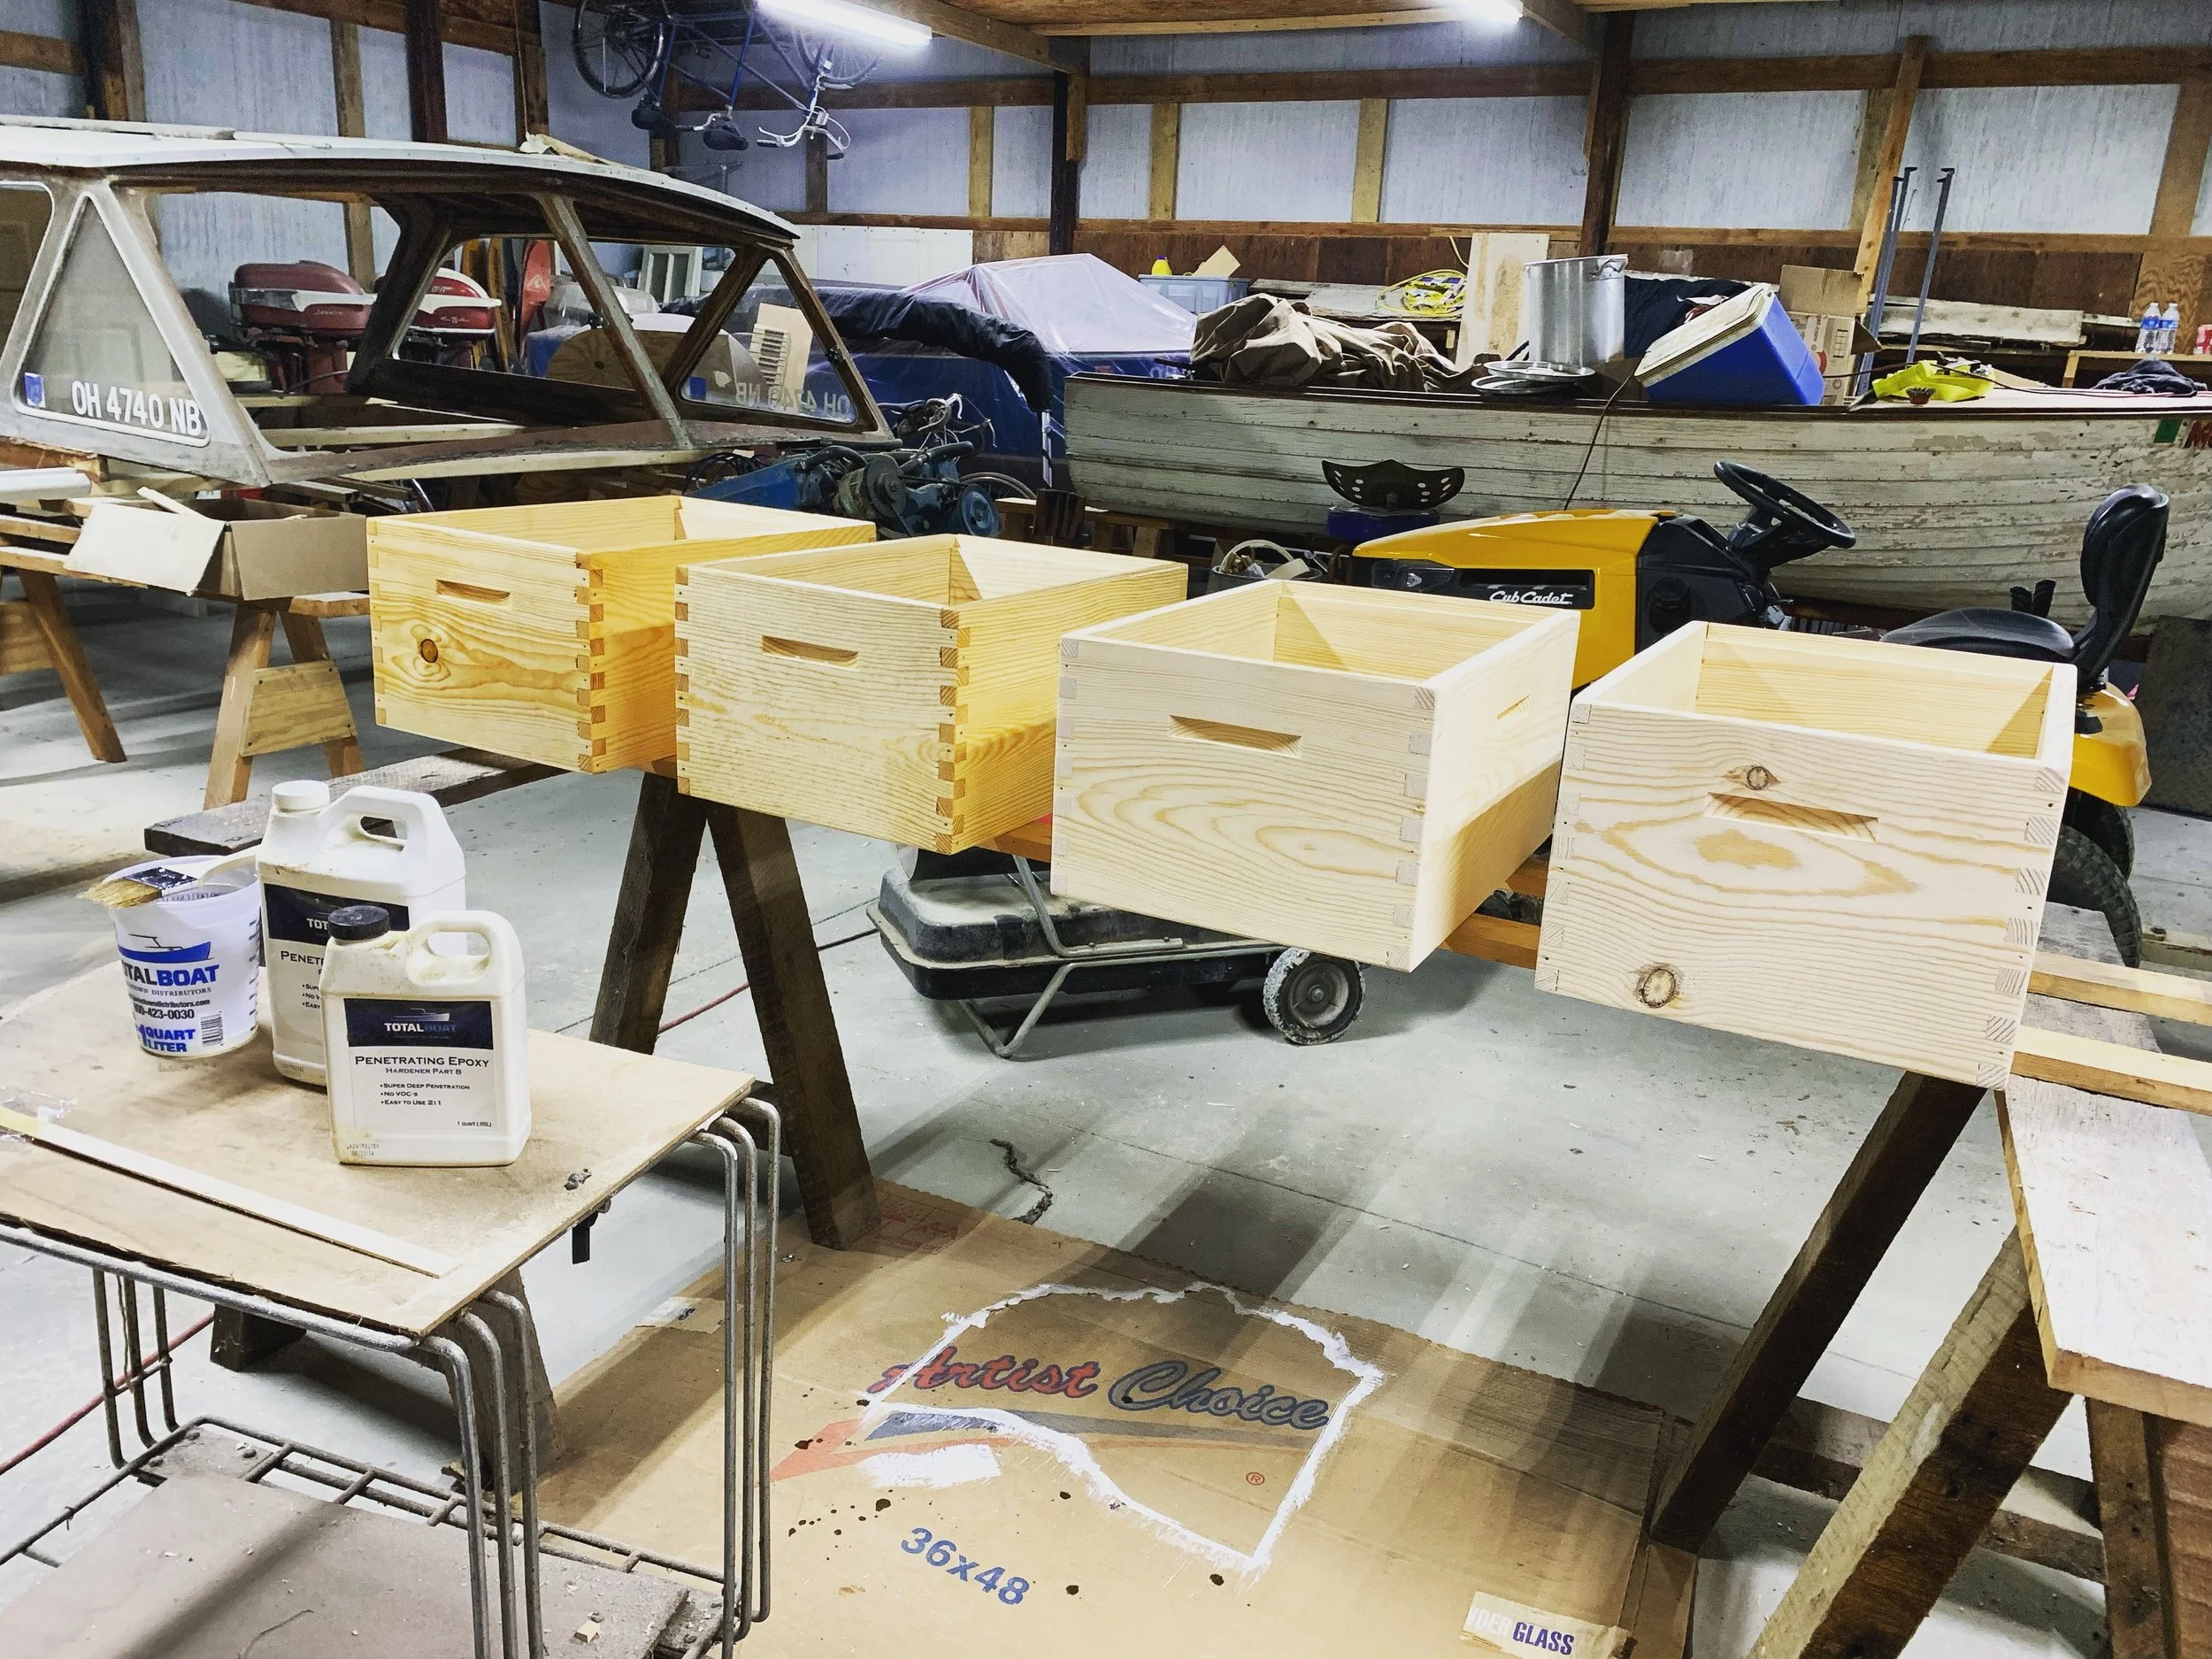
Brood Boxes - assembled, glued, and sanded - ready for epoxy and varnish.
To finish these boxes, I used Total Boat Penetrating Epoxy and then 2 coats of Total Boat Gleam Spar Varnish. I had left over materials from the last boat I restored and I hope that the marine grade materials will provide better protection and wear then regular exterior paints and varnish.
I only finished the outside, and lightly brushed varnish on the top and bottom edge. The inside is left unsealed so the bees are not harmed by the chemicals.
When using 2 part epoxies, be sure to measure it out and then stir, then stir, then stir. Take the time to make sure it is mixed well! For the beehives, I applied everything with a brush. However, the roll and tip method leaves a much better finish.
Pro tip: Paints and varnishes don’t like sharp corners. Lightly round over the corners with some sand paper for a longer lasting finish. The round edge help prevent the finish from cracking at a sharp corner.
How to seal a beehive with Marine Grade Supplies
Final Thoughts on Building Beehive Boxes
In total I built 4 deep brood boxes and 4 medium honey supers. My total lumber cost was around $85 (mainly for the boxes, but some lumber got used on the frames and covers). This was a lot of fun and would recommend building boxes to any woodworker with a decent table and a dado blade. These were so satisfying to put together.
If beekeeping goes like I believe it will, I will definitely build more in the future. I would love to make some fancy hickory boxes from a few trees I had milled.
Next up is the frames….. and that’s a different story. Check out Part 3 as we dive into the repetitive process of building the frame components.
This article is part of a 5 part series on building beehives. I have decided to build 8 frame hives in my workshop with common woodworking tools. I am building my hives myself to save money over buying, and to challenge myself on a fulfilling project. This is not a step by step guide for a novice woodworker, but a snapshot into my experience on how I built my own hives to use.
HOW TO BUILD A BEEHIVE - PART 1: THE PLAN AND PREP
HOW TO BUILD A BEEHIVE - PART 2: BUILDING BEEHIVE BOXES - DEEPS AND MEDIUMS
HOW TO BUILD A BEEHIVE - PART 3: BUILDING FRAMES
HOW TO BUILD A BEEHIVE - PART 5: FINAL THOUGHTS AND TOTAL COST

