How to Build A Beehive - Part 4: Building the Solid Bottom Board, Intercover, Feeder, Telescoping Outer Cover
Adam Koons
Affiliate Disclosure: Thank you supporting us by visiting our site and posts. This website contains affiliate links that are ads recommended to you, that we can earn a small payout on. We only use Amazon Associates and Google Adsense. By clicking on these ads, making a purchase, or taking other action, we can earn a little extra money to fund future projects.
This article is part of a 5 part series on building beehives. I have decided to build 8 frame hives in my workshop with common woodworking tools. I am building my hives myself to save money over buying, and to challenge myself on a fulfilling project. This is not a step by step guide for a novice woodworker, but a snapshot into my experience on how I built my own hives to use.
Watch us Build a Beehive
This is the catch all post about building “the rest” of the langstroth hive components. For each hive that you are building, you need one bottom board, one inter cover, one feeder, one entrance reducer, and one outer cover.
I will once again be following the plans for a 8 frame langstorth beehive found here. This post will have less detail since there are so many components getting covered. For the most part the plans were followed exactly, and should be easy to follow for a novice/intermediate woodworker.
How To build a solid bottom board
A solid bottom board is really easy to make. I started by cutting the side pieces to the length I needed. There is some play here for the landing board portion of the bottom board, it will get longer or smaller depending on the size you make it. Next I ripped a 3/4” dado down the center of the boards to fit 3/4” plywood. Next I cut the plywood to the same length and then to width. The last piece that was needed was the back piece, and the was made to fit flush against it all - which is a slight modification to the plans.
To assemble the bottom board, I used Titebond 3 on all the joints and sank exterior grade 2” screws to hold it together.
Tangent Alert/Side Note: I am going with a solid bottom board to start based on my reading and research. I understand that the popular opinion is the screened bottom board to deal with Varroa Mites. From what I have read, a screened bottom board is used to count the Varroa that fall to the bottom, which then can help lead you to solutions for mitigating. The bottom board isn’t the solution for mitigating. Second, I have read that the shaker is a better measure for monitoring Varroa and more accurate. I plan to use the shaker options for counting. Also the screened bottom board seals up the hive more which the bees try to do naturally. I could be wrong. I will try and see.

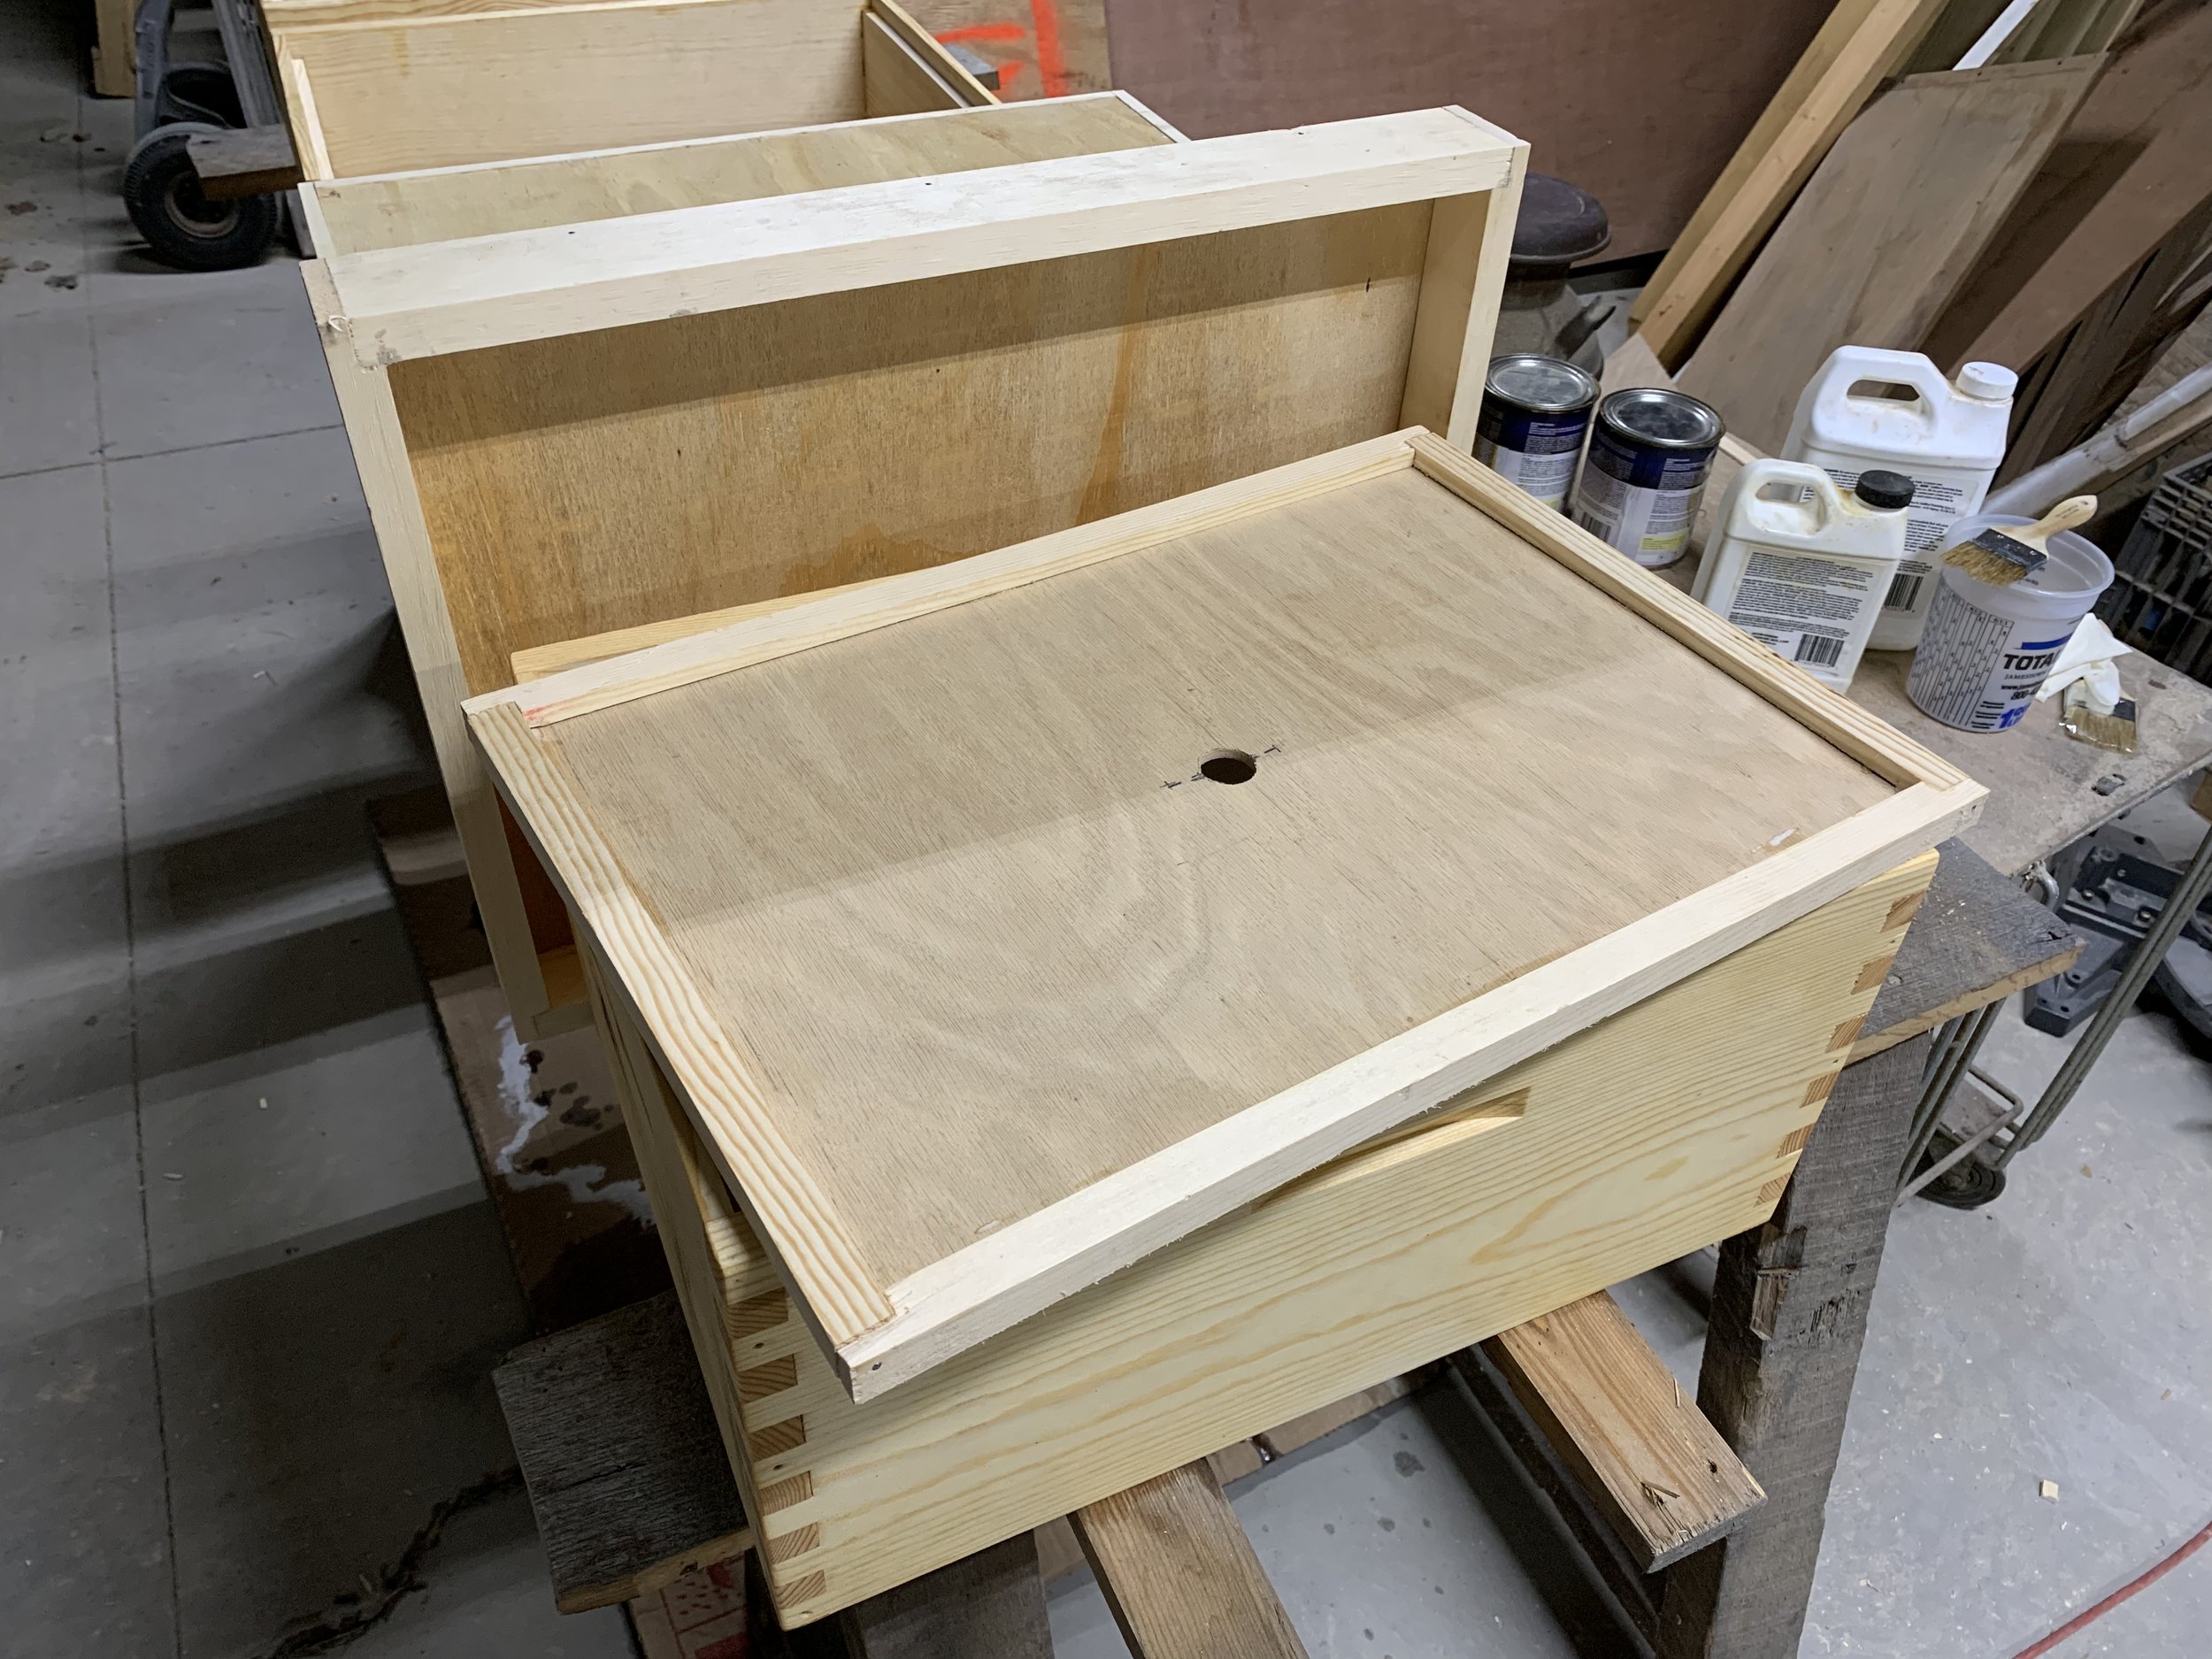
How To Build an Inner Cover
The inter cover is basically a frame with a piece of plywood in the center. I followed the plan exactly to make my inter covers. First I made the outside frame from 3/4” material, and then cut out the 1/4” plywood for the inside. I used some 1/4” oak plywood I had laying around as scrap for my covers. I guess they are extra fancy since they have oak plywood! The last step is a hole drilled in the center, and put a 3/4” groove in the back for ventilation.
How to Build a Beehive Feeder with Mason Jars
Full Disclosure: This was not the original plan. My original plan was to build a wooden feeder that was another box, but I ran out of time the bees where set to arrive.
I made my feeder with scrap 1/2” plywood cut to 10”x10”. I traced the outline of the mason jar lids and cut out the hole to create a holder. I added a frame around the outside with 3/4” x 3/4” scraps. The last piece was to add some hardware cloth to the underside, so the bees have something to climb on when drinking.
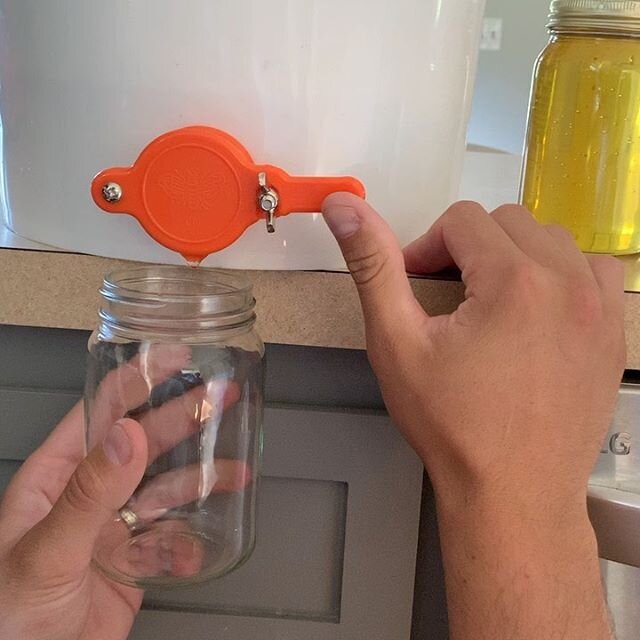
For the mason jars, I poked 10 holes into each lid. Then made my simple syrup and was ready to feed the bees.
This design is made to sit on the inter cover. and have another deep hive body cover it. Then the outer cover goes on top.


How to make the Hive Outer Cover
Similar to the inter cover, the outer cover is made by making a frame and inserting a piece of plywood. I followed the plans exactly for the cover . I first made the edges and cut them to length and then the dado. Next I cut the plywood to fit inside the frame. Everything was glued together with Titebond 3 and 2” wood screws.
For the metal, I purchased a roll of aluminum flashing from the hardware store. It was easy to work with and I cut it with tin snips. Once it was cut to size, I marked wear I needed to bend it. I used the crisp edge of the table saw and a rubber mallet to make a nice bend. To finish the corners, I made a crease and then the rubber mallet to finish it. Here is a video that I watch to do it myself - once again I have no affiliation.


How to make a hive entrance reducer
The last piece to make is an entrance reducer. This is made by cutting a 3/4” by 3/4” piece to the exact length of the hive entrance. Then using the dado blade set to 3/8” tall, make a space that is 1.5” wide. Then roll the piece to a side next to the one you just cut and make a 3-4” space.
This article is part of a 5 part series on building beehives. I have decided to build 8 frame hives in my workshop with common woodworking tools. I am building my hives myself to save money over buying, and to challenge myself on a fulfilling project. This is not a step by step guide for a novice woodworker, but a snapshot into my experience on how I built my own hives to use.
HOW TO BUILD A BEEHIVE - PART 1: THE PLAN AND PREP
HOW TO BUILD A BEEHIVE - PART 2: BUILDING BEEHIVE BOXES - DEEPS AND MEDIUMS
HOW TO BUILD A BEEHIVE - PART 3: BUILDING FRAMES
HOW TO BUILD A BEEHIVE - PART 5: FINAL THOUGHTS AND TOTAL COST